Accountz Document Designer
Video Help
For video help on this functionality, please click here.
Running the Software for the First Time
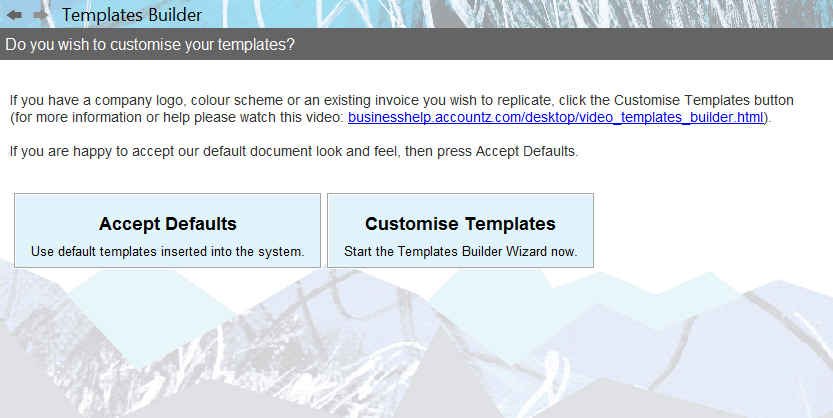
When you run the software for the first time you will be prompted to accept a fully usable set of document templates, or create your own.
- If you are happy to use the system set of document templates, click ‘ Accept Defaults ’, and the software will insert a set of usable templates into the system. N.B. Should you wish to create a set of customised templates at a later date, the Templates Builder wizard can be run at any time by selecting it from the Documents main menu.
- If you wish to set your own colour scheme, and insert your own company logo into your document templates, we recommend selecting the ‘ Customise Templates ’ button to run the Templates Builder wizard. This process will take you step by step through creating a set of customised templates.
Using the Document Designer
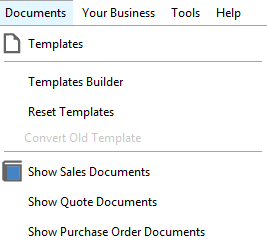
The Documents main menu comprises the following options:
- Templates – the location of all your document template designs
- Templates Builder – this wizard enables you to create a complete (or part) set of customised templates
- Reset Templates – hides all existing templates enabling the user to start afresh
- Show Sales Documents – click here for all invoice and credit note documents
- Show Quote Documents – click here for all quote documents
- Show Purchase Order Documents – click here for all purchase order documents
The Document Editor
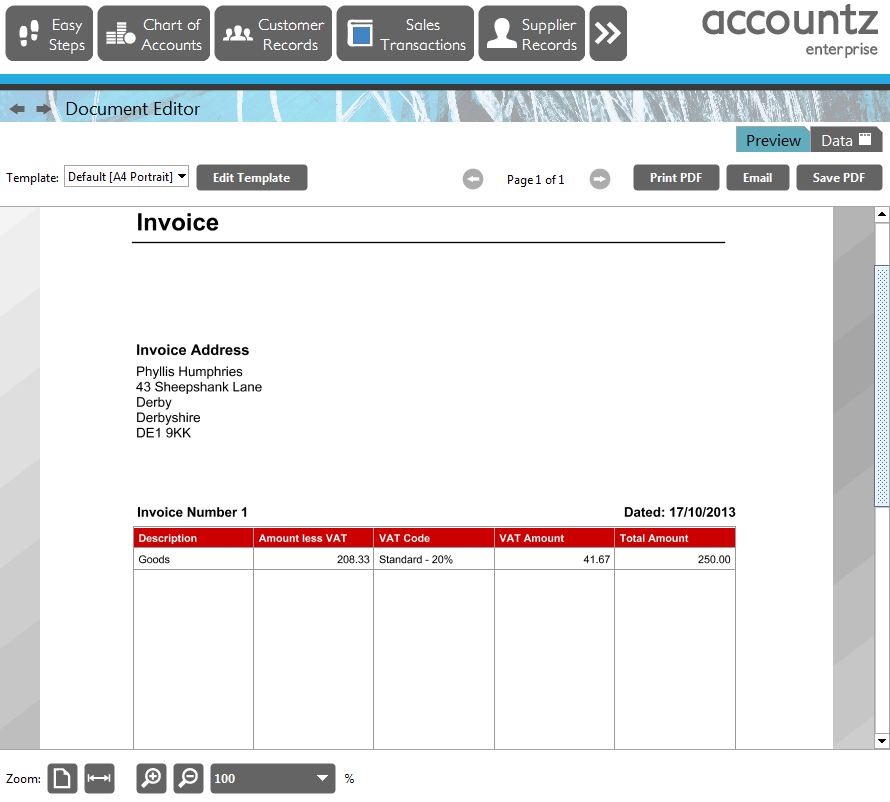
The Document Editor component is used to create and preview documents prior to printing/export. All documents are based on underlying templates, the design of which can be edited in a separate component, entitled the Template Editor.
The Document Editor component comprises two tabs, Data and Preview. More information about this component can be found here.
Users wishing to edit the look and layout of the template upon which the document is based can do so in the Preview tab by clicking the ‘Edit Template’ button in the top left of the screen, or by double clicking on the document itself. This launches the Template Editor component, where the user can edit the template that the document is based on, or create a new template, and then click ‘Finish Editing’ to return to the Document Editor component.
N.B. Templates can also be edited from the Templates component (Documents>Templates).
The Template Editor
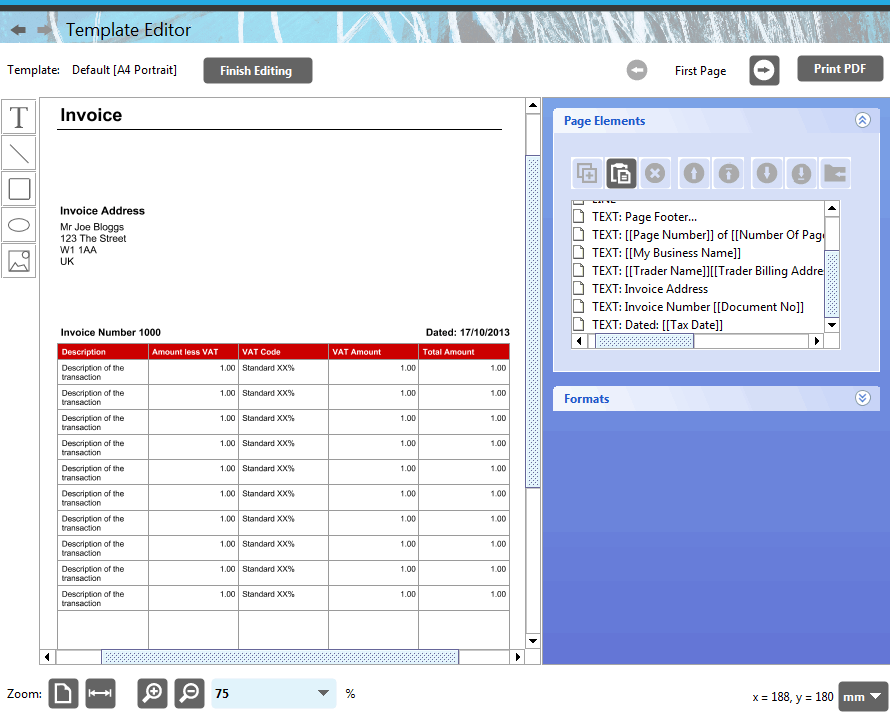
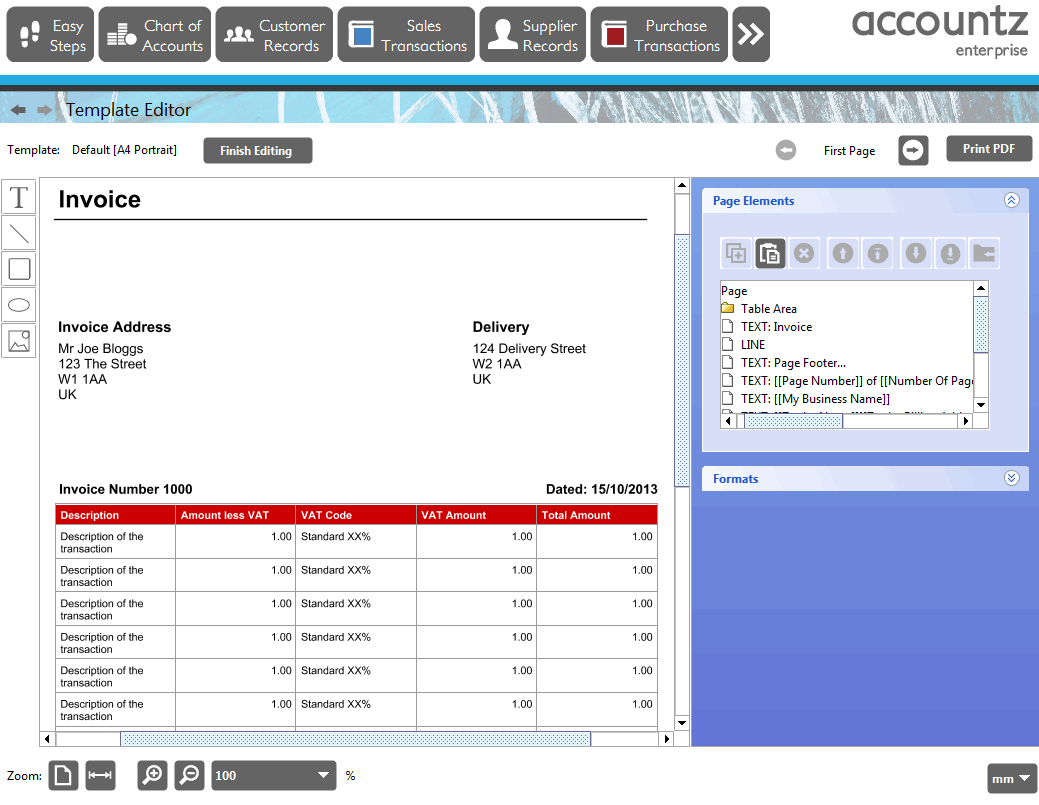
The Template Editor is where the user can edit the design of their document templates. Please see here for more information.
This component offers enhanced functionality enabling the user to edit their templates more easily.
Also, you can now add Custom Fields to your document templates, and quickly add/remove/re-order table columns.
The Templates Builder
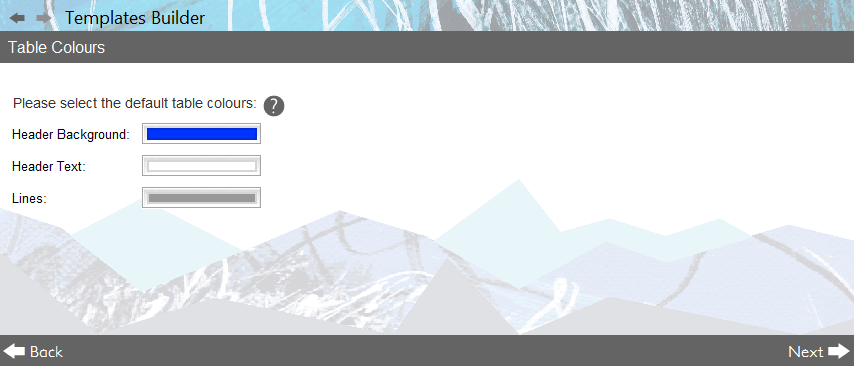
The Template Builder is a process wizard which enables the user to set global values (e.g. font type, table header colour) for all document templates, plus add a company logo to all sales/purchase type documents, and set up an invoice template. Please click here for more information.
Templates
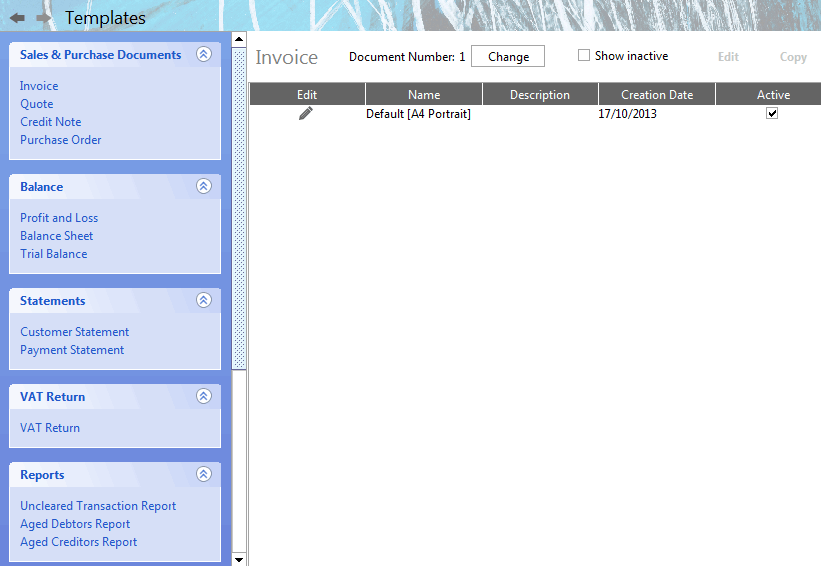
Every document created is based on an existing document template. All templates are located in the Documents>Templates component.
Individual template designs can be edited from here by selecting the ‘Edit’ button, which launches the template for editing in the Template Editor component.
Locating your Documents
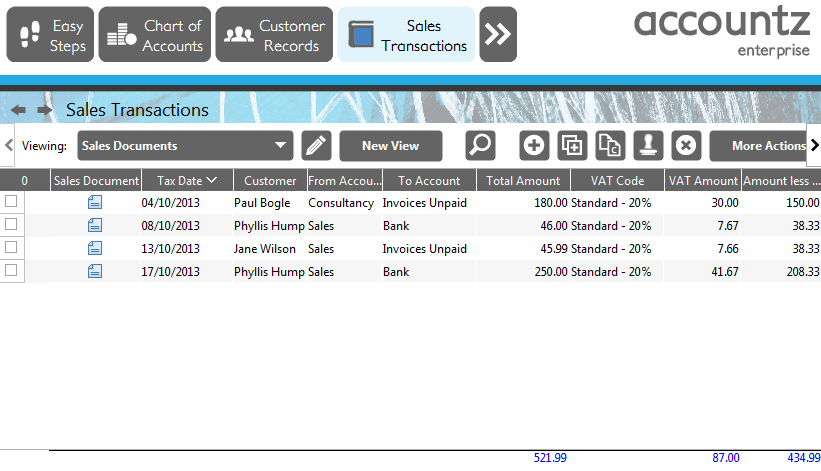
All documents are located in the following Documents main menu options, dependent on document type:
- Documents>Show Sales Documents - Displays all Invoices and Credit Notes
- Documents>Show Quote Documents - Displays all Quotes
- Documents>Show Purchase Order Documents - Displays all Purchase Orders
Further Help
For more information regarding the Document Designer, please click here.
