Creating and Customising Documents
Introduction
The Accountz Designer enables you to design various different documents to suit your business needs. Here we will look at how to create an invoice for a customer.
Worked Example – Create an invoice for a customer

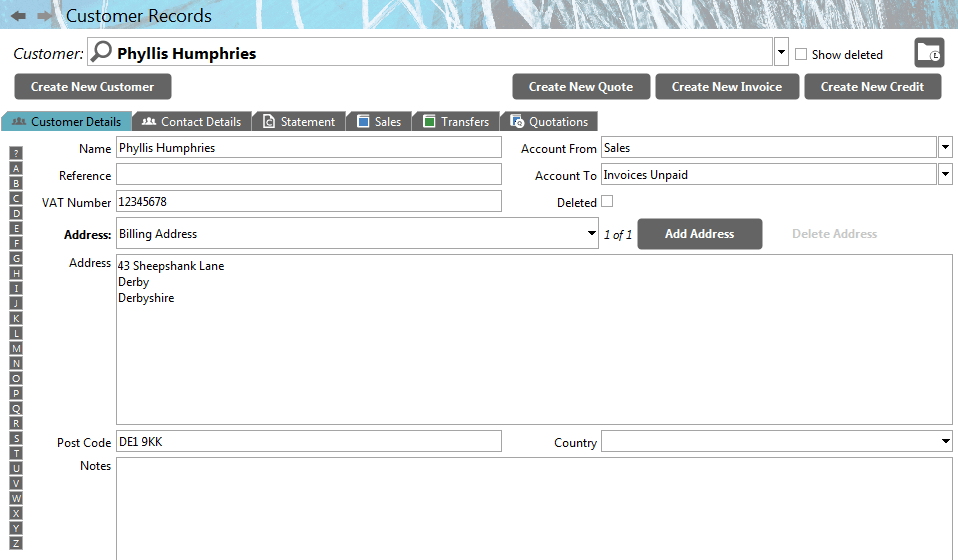
- Within Customer Records, select the Customer for whom you wish to produce an invoice (you can set the default To and From Accounts in the Customer database to save you time when creating invoices in the future).
- Press the Create New Invoice button
 . This launches the Preview tab of the Document Editor component.

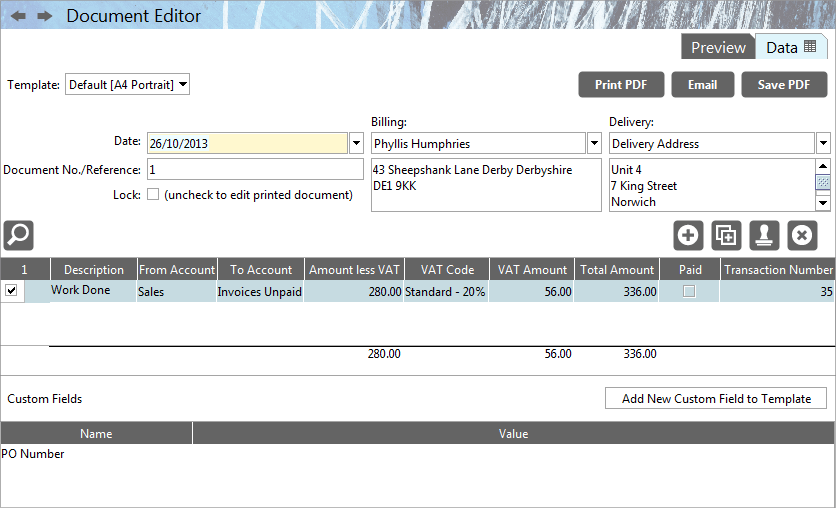
- Set the Tax Date, and add invoice entries to the transaction table, starting with the Description field. Whatever you enter in the Description field will appear on your invoice.
- Fill in the other required transaction fields.
- Select a Delivery address if different from the Billing Address (click the ‘Delivery’ drop down menu for more options).
- Add a Custom Field if necessary or add the custom value for this invoice to any existing Custom Field by clicking in the relevant ‘Value’ field and entering your text there.

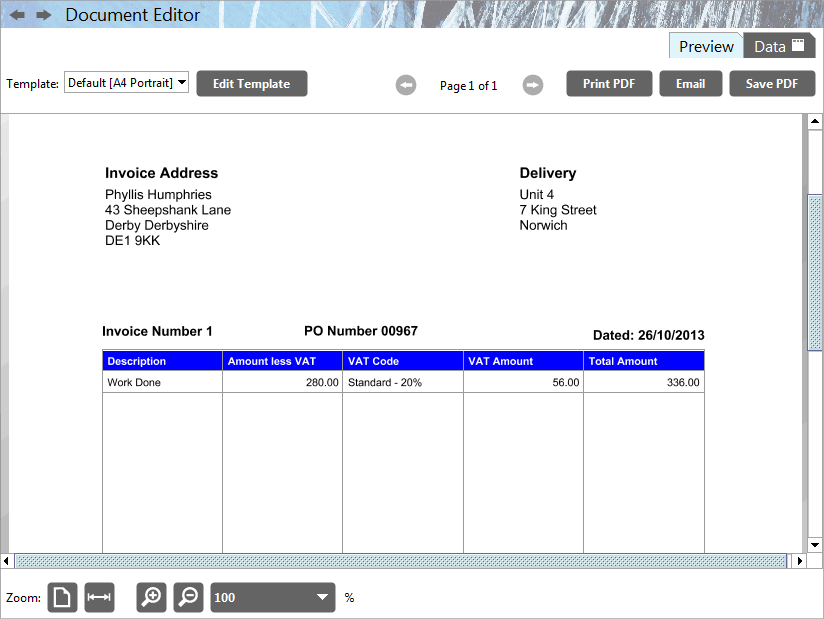
- Select the Preview Tab.
- If necessary, select a different document template from the Template Picker drop down menu, or click the Edit Template button
 to edit the design of the current one in the Template Editor component. Once you are satisfied with your changes, click the ‘Finish Editing’ button in the top left of the screen to return to the Document Editor screen.
 - Select the Print button
 to print the invoice. By clicking the appropriate button, the user may also at this point Email
  , or Save as PDF
  .
.
You can view/edit/print any invoice again either via Sales Transactions (double-click the Sales Document field for the invoice) or via the Documents>Show Sales Documents menu option.
