Set Licence Wizard Help
Set Licence Wizard Process Guide
The Set Licence Wizard (accessed via Help>Set Licence Wizard) is a process wizard which helps you to licence your software and connect to the Accountz Hub.
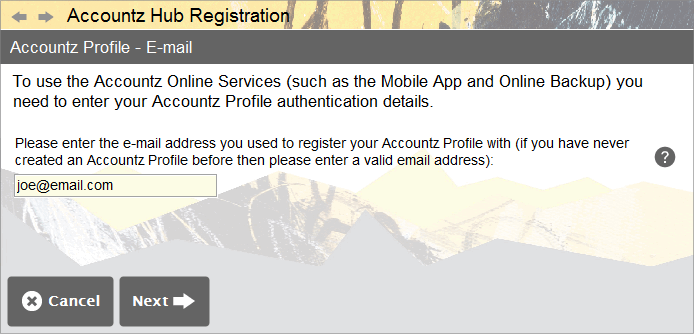
- Accountz Hub Registration - here you will be asked to enter the email address associated with your Accountz Hub profile. If you have not previously created such a profile, you will be asked to create one in the next screen (and so, at this point enter the email address you wish to use for this). Click ‘Next’ to continue.
Accounting Software screenshot home set licence wizard 1
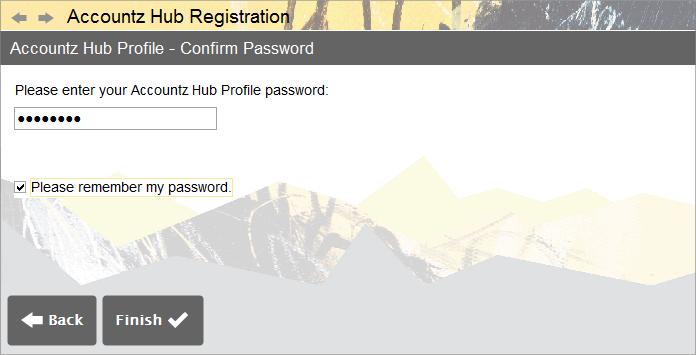
2a. If the email address entered is recognised as being associated with an Accountz Online Service profile, in the following screen you will be asked to enter your password. Please do so now, click ‘Finish’ and skip to Step 3 of this guide.
Accounting Software screenshot home set licence wizard 3
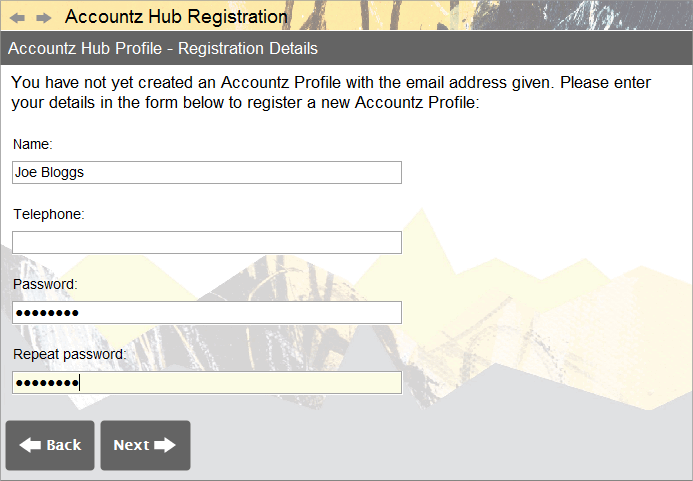
2b. If the email address entered is not recognised as being associated with an Accountz Hub profile, this screen will prompt you to create one now, by entering your Name, Telephone Number (optional) and then by creating and confirming your password (min. 8 characters). Click ‘Next’ to continue.
Accounting Software screenshot home set licence wizard 2b
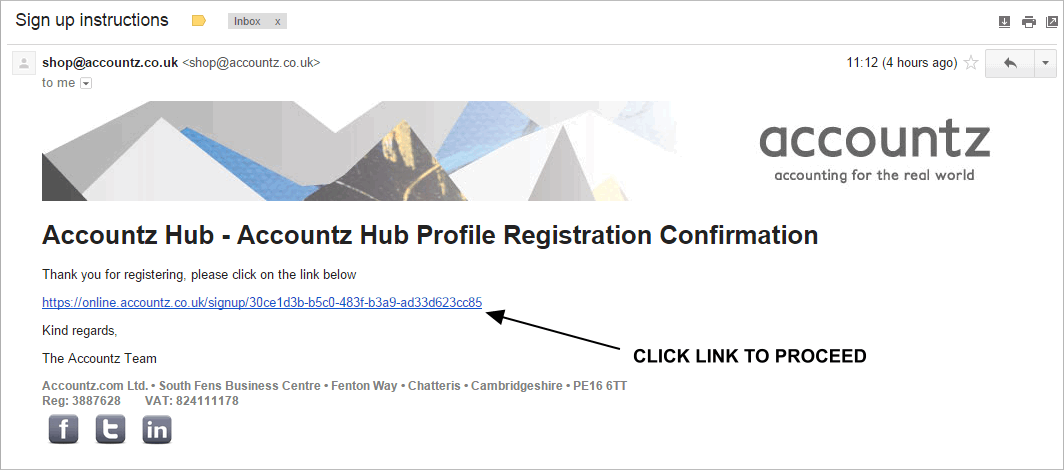
2c. At this point you will be sent an email requesting that you confirm your account (by clicking a link contained within the email). Please check your email account, and if you have received an email such as the image above, click the link to proceed.
Accounting Software screenshot set licence wizard 2c
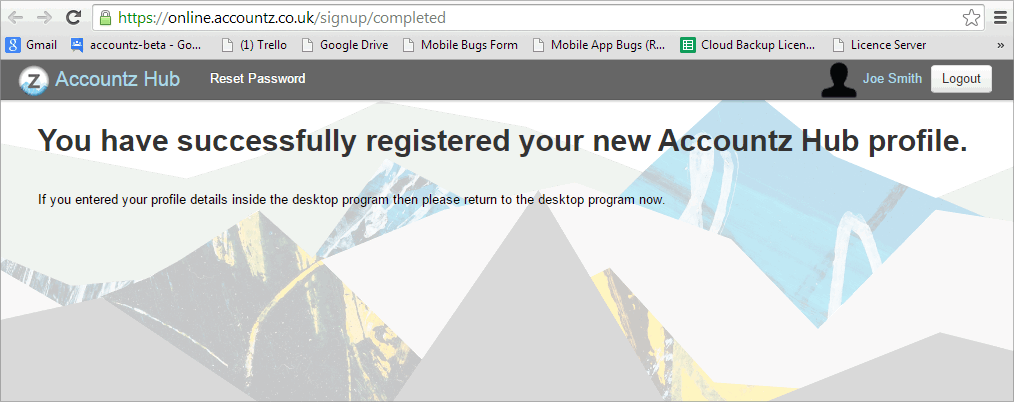
2d. Once you have clicked the link you should see this confirmation web page. If so please return to the desktop software.
Accounting Software screenshot set licence wizard 2d
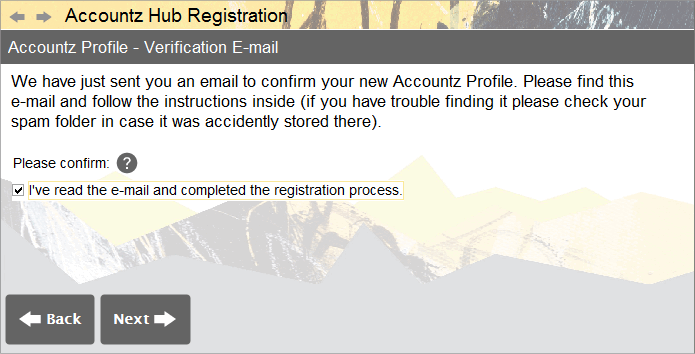
2e. Tick the ‘I’ve read the email and completed the registration process’ box and click ‘Next’ to continue.
Accounting Software screenshot home set licence wizard 2e
2f. Here you will be prompted for you Accountz Hub Profile password. Please enter it now and click ‘Finish’ to complete this part of the wizard.

Accounting Software screenshot home set licence wizard 3
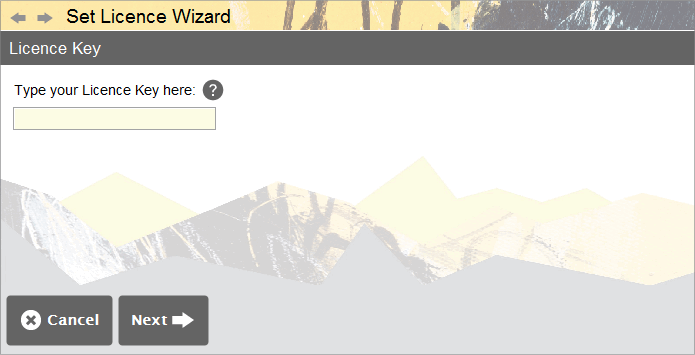
- Set Licence Wizard - this screen will prompt you to enter your licence key (for help regarding your licence key, please click here) Please do so and click ‘Next’ to continue.
Accounting Software screenshot home set licence wizard 4
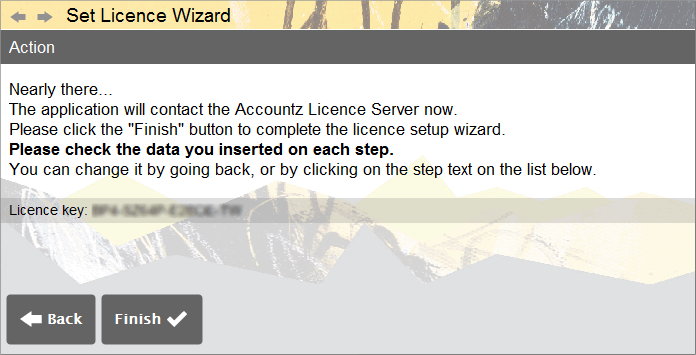
- This screen details that we have entered the key successfully, and encourages you to make a manual backup of your data at this point. Click ‘Finish’ to complete this part of the wizard.
Accounting Software screenshot home set licence wizard 5
- Online Backup Settings - here we can choose to activate the Online Backup service, enabling your data to be safely (and automatically) backed up online. Click ‘Yes’ to enable the service. Click ‘Next’ to continue.
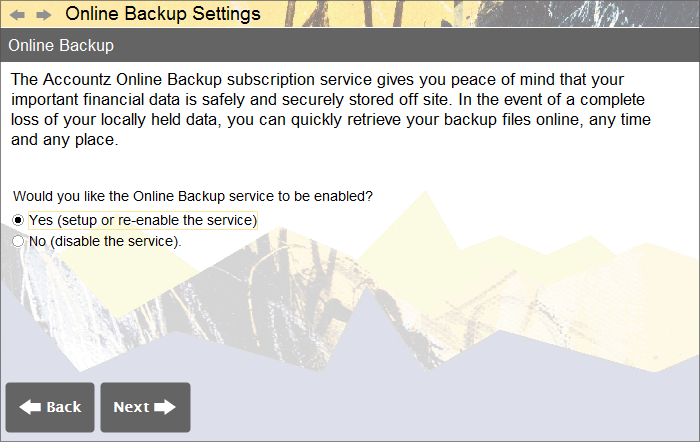
Accounting Software screenshot cloud backup settings 1a
- In the ‘Initial Upload to Online Backup’ screen, select the files you would like to upload to the Online Backup Service from the list selected by ticking the relevant ‘Upload’ checkbox.
Password protected files (.phaz) will appear in this list as ‘locked’. In order to upload them to the Online Backup Service you will need to tick the upload box on the appropriate line of the table to select and then enter the password when prompted.
Please note that you will be unable to upload more than one file from the same project, so please ensure you select the most current/relevant.
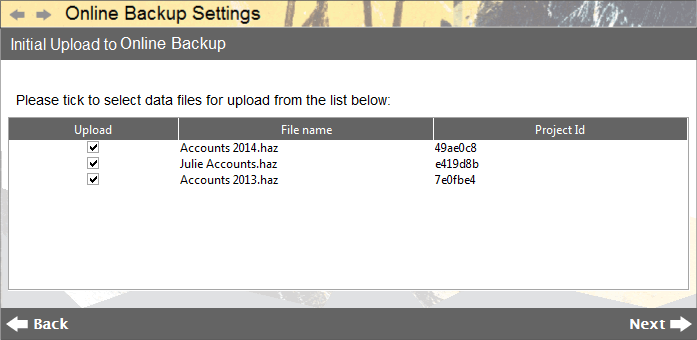
Accounting Software screenshot cloud backup settings 2
- Next you will be asked to agree to the online backup Terms of Use. If you are happy to do so, tick the checkbox, and click ‘Continue’ to proceed.
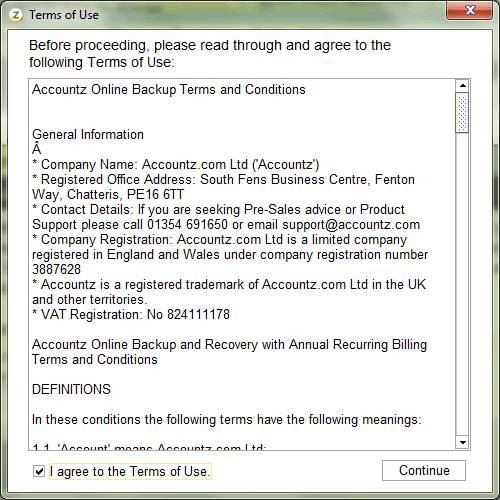
Accounting Software screenshot cloud backup
- Click ‘Finish’ to complete the process. Your software should now be fully licensed and connected to the Online Backup Service.
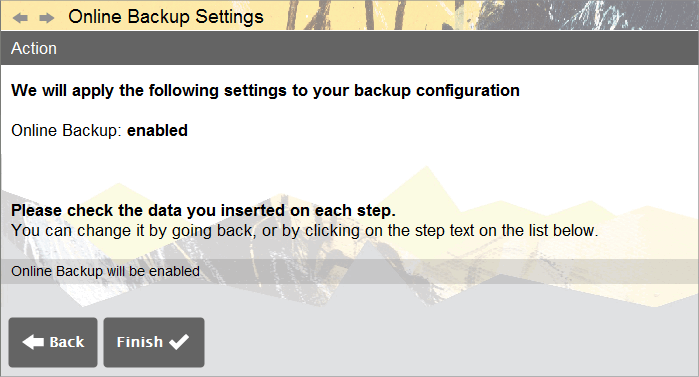
Accounting Software screenshot cloud backup settings 3
