Entering Transactions
Transactions
Please note that this process is also covered by the Easy Steps component.
There are two places to enter a transaction. Both are equally valid, and simply a matter of personal preference.
1. In the All Transactions screen
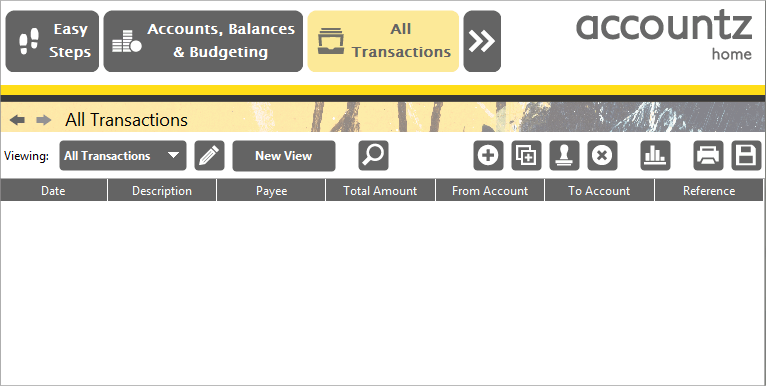
Click the All Transactions icon, or select Transactions>All Transactions from the main menu

Accounting Software all transactions
If you are in a hurry to enter your transactions, we recommend using this screen.
The benefit of this is that you can enter transactions for any account here, useful if you have a pile of mixed (Bank, Credit Card, etc.) receipts to enter.
![]() To add a transaction to the table, click the ‘Add Transaction’ icon. This will add a new transaction line.
To add a transaction to the table, click the ‘Add Transaction’ icon. This will add a new transaction line.
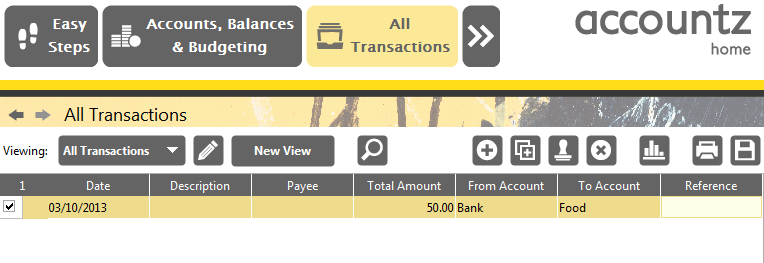
Enter the date - start typing the date and you will be prompted with a drop down calendar. Hit enter to progress to the next field. Enter data for the transaction as required - it is vital to complete the ‘Date’, ‘Account From’, ‘Account To’ and ‘Total Amount’ fields.
 Until certain, necessary fields have been completed within a transaction line, the transaction will display an exclamation mark at the start of the row, and the transaction value / running balance value will appear as struck through.
Also, please note that if the same account is entered in both the ‘Account From’ and ‘Account To’ fields, this will also register as an error.

Accounting Software payment transactions tab
The From Account details the account that the money has left. So if you have purchased some food using your bank’s direct debit card, the From Account would be ‘Bank’.
The To Account describes the account that the money involved in this transaction is going to. So for this example it would be ‘Food’.
The Total Amount simply describes the value of the transaction, e.g. £50.00.
Description, Reference, Payees can all be added (although they are not obligatory).
2. In the Accounts, Balances & Budgeting screen
Click the Accounts, Balances & Budgeting icon, or select Accounts>Accounts, Balances & Budgeting from the main menu.
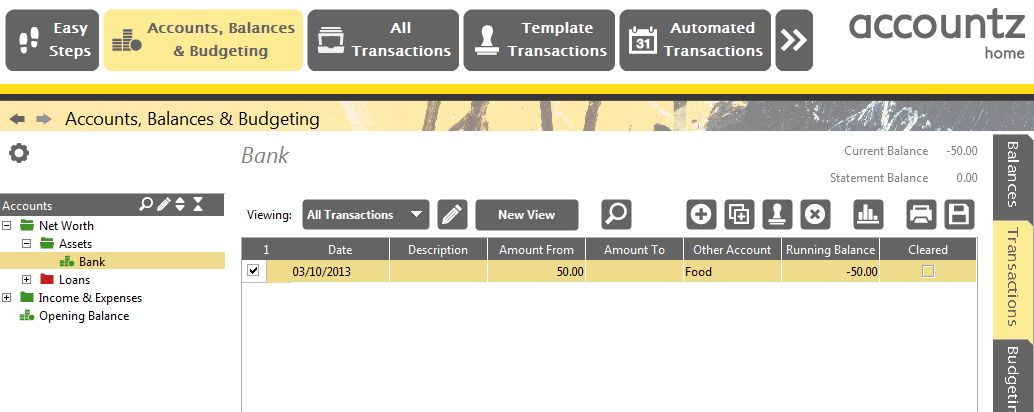
Select the relevant account, e.g. ‘Bank Account’ and click the ‘Transactions’ tab on the right of the screen.
![]() To add a transaction to the table, click the ‘Add Transaction’ icon. This will add a new transaction line.
To add a transaction to the table, click the ‘Add Transaction’ icon. This will add a new transaction line.

Accounting Software payment accounts tab
Enter the date, click enter or tab to move the cursor to the next field. For the transaction to be successfully recognised by the software, the ‘Date’ field, the ‘Other Account’ field, plus the ‘Amount From’ field (if this is a payment entry, i.e. money is coming from your Bank Account)) or ‘Amount To’ field (if this is an income entry, i.e. money is going to your Bank Account), must be completed. Description, Reference, Payees can all be added (although they are not obligatory).
 Until certain, necessary fields have been completed within a transaction line, the transaction will display an exclamation mark at the start of the row, and the transaction value / running balance value will appear as struck through.
